
On the left, is the original image without the reflector. On the right is the image with. As you can obviously tell, the reflector made a substantial difference to the overall image, including her facial features. The natural light was located on the right, coming through a window. On the left was minimal artificial light. As you can see, on the left, the left side of the face is dark and dull. The bags under her eyes are noticeable and the high point of the face aren't that highlighted. However, on the right, the deep places on her face are dark enough for the image not to look flat. The bridge of the nose is bright and highlighted along with the cheekbones and chin.

With this one, the main light source was the sun. However, because it was a dull day, the reflector didn't make much of a difference when placed to the right of his face as the sun was on the left. So I placed the reflector underneath his chin, more to the right as that was the side of the face that wasn't getting as much sun light. Again, the difference between the image without the reflector and the image with is quite dramatic. The bags under his eyes have smoothened out, his top lip area doesn't look as dark and his laugh lines aren't that noticeable. Again, this proves that the reflector does work.

Again, the main light source was the sun, with no artificial light. However, unlike the last 2 natural light images, the difference between the image with and without the reflector isn't as obviously with this image. It's very subtle. But regardless, it still counts. The reflector was placed underneath however slightly tilted diagnoly, following the natural shape of her face on the left. Although it didn't make a big difference on the base of her face, the high points have become extremely highlighted. Also, her eyes have become more white and noticeable.

The main light source was the sun. The reflector was placed underneath his chin slightly angled to the right. Personally for me, I don't like the way the reflector make this person look. He looks very washed out and if anything, it emphersised his blemishes rather than lightening them and smoothing things out. I think the image would've look a lot better with the gold side of the reflector to warm his face up however, I was working with a piece of white card. Regardless, it still shows that the reflector works but the results aren't as good as the others.

The first image is with the reflector and the second is without. Again, the natural source of light was the sun. With the first image with the reflector, you can see it's warm. However, without the reflector it looks dull and again, washed out. Personally, I don't know if the van has made a difference with the image or not as it still reflects light. So, I can't say if it's worked or not.

The only source of lighting was the sun. However, because the clouds were thick this day, it made the image dark and emphasised his blemishes. My camera is slightly lower than his making the bags under his eyes look even more than they are. The background is blurred to create depth of field and to ensure the main focus is the face. Although there is colour in the sky, there isn't much detail which for me, makes the image boring and just standard.

This image is a re-do of the previous task image. The day brightened up so I decided to shoot another shot of this image. Although this image is a lot right than the last, when I went into photoshop to turn the contrats up to create a more rustic image, it didn't work as well as the other therefore, I liked the end outcome of the darker image. Also, I wanted the Town Hall to be one of the main focuses however, in this image, its blurred to the point where cant even see the clock detail.
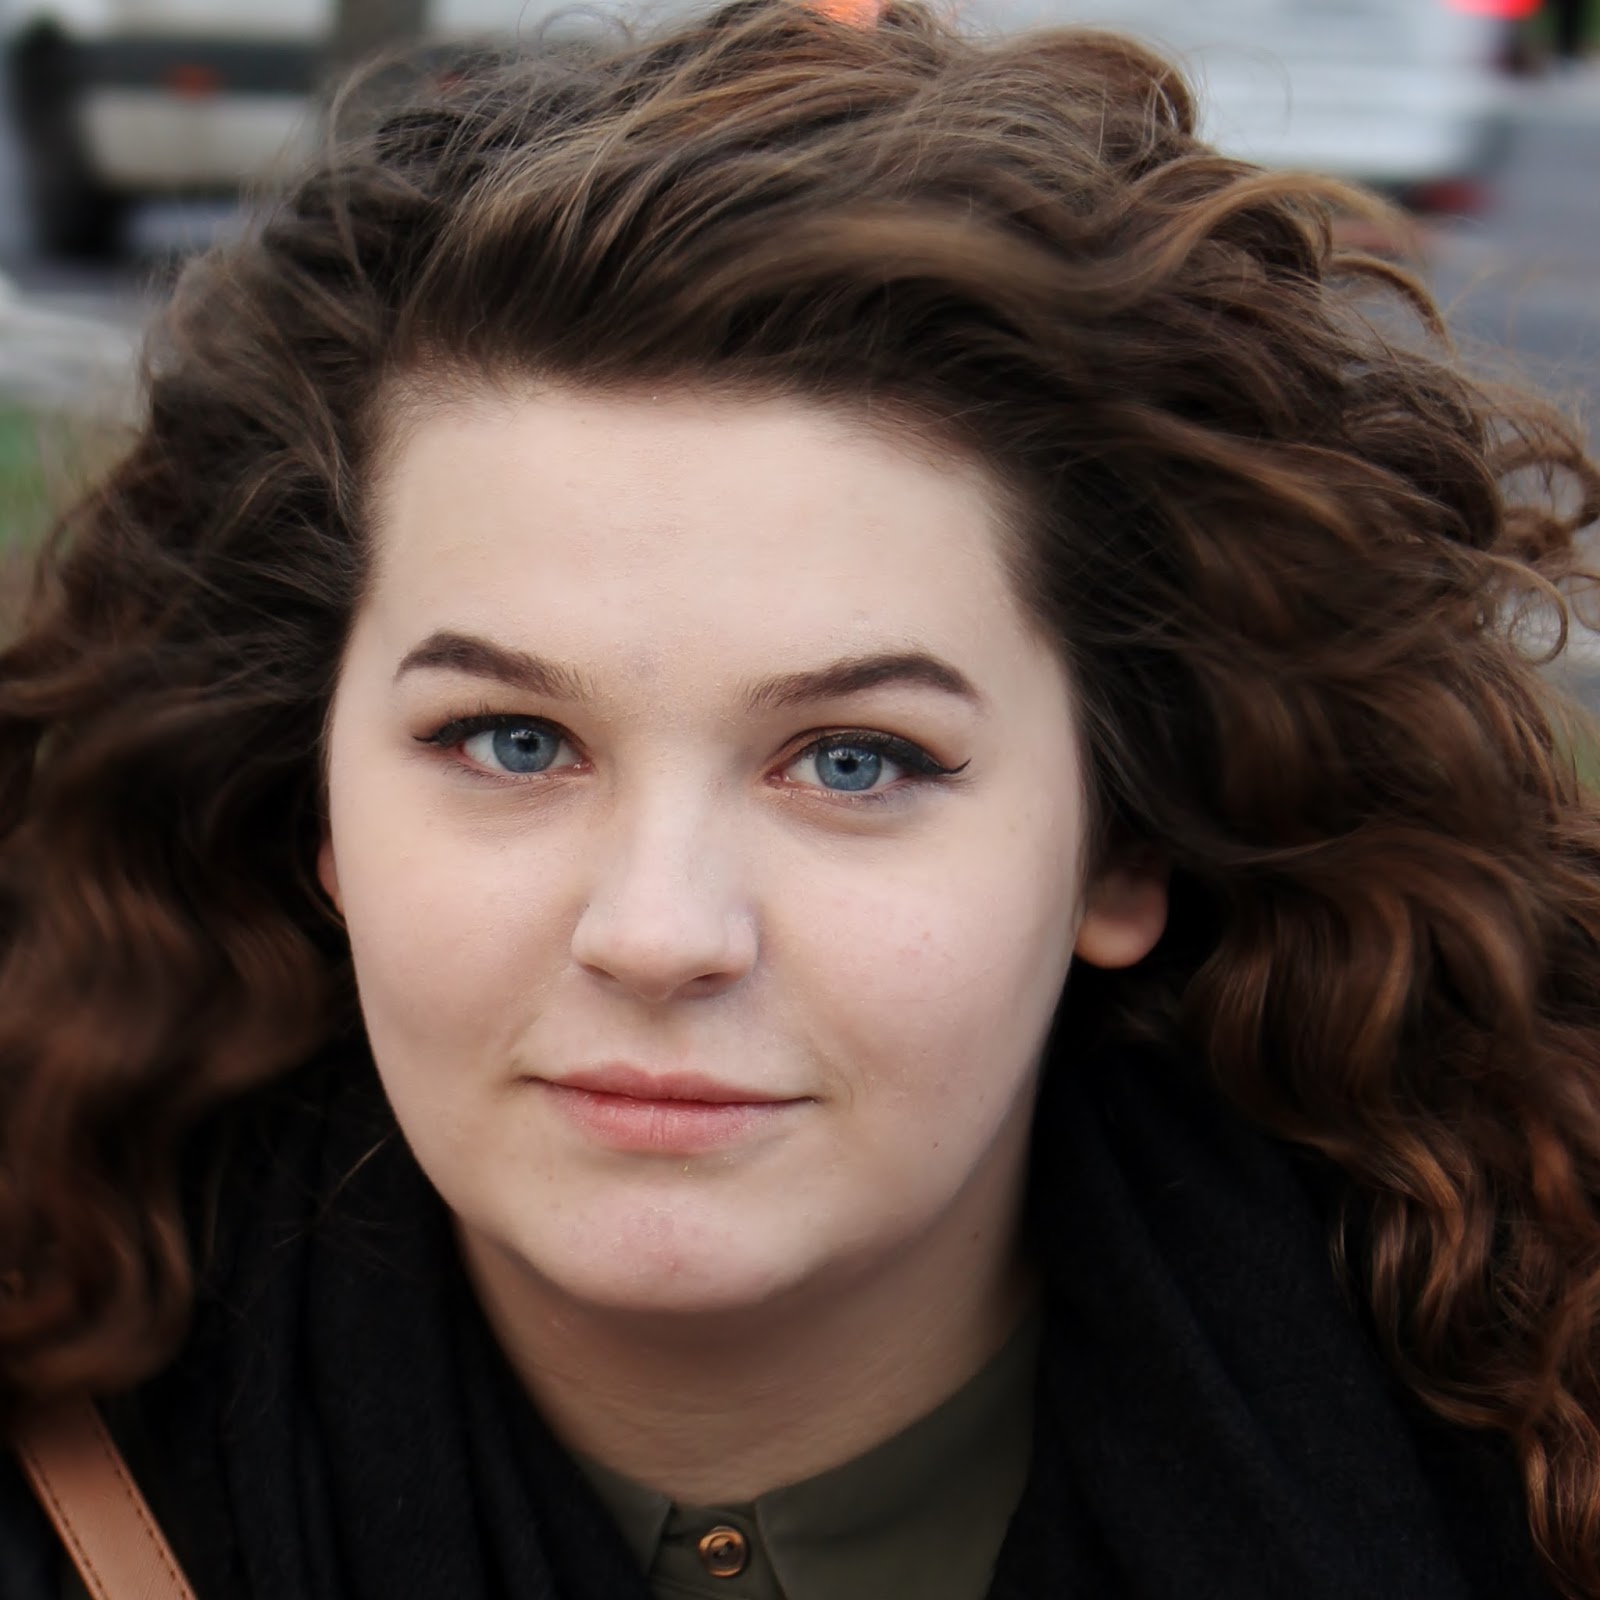
This shot is a neutral shot. I wanted it to be basic and simple. The lighting is again, only sunlight however, I used a white piece of card as a reflector and placed it under the chin, angled up to the right. By doing this, it brightened up the image. The main thing I wanted was for her eyes to be bright and full of colour and personally, I think I achieved that. It gives a pop of colour without it being overwhelming but enough for her to look striking.
Silhouette :


Again, like the last image, the main light source is the bonfire. I chose this image to evaluate wasn't only because of the silhouettes, it was because of the detail in the bonfire. The specks of fire going upwards really adds detail into the black parts of the image. Also, you can make out the wood in the fire which adds detail to the fire. Although there is only a few silhouettes, they're all looking in the same direction, creating the impression that they've socialising with each other.
Contact Prints;


No comments:
Post a Comment